TV wall mounting enhances space efficiency and modernizes home aesthetics. It involves securely attaching a TV to a wall using a suitable mount, ensuring stability and optimal viewing.
Why Wall Mounting Your TV?
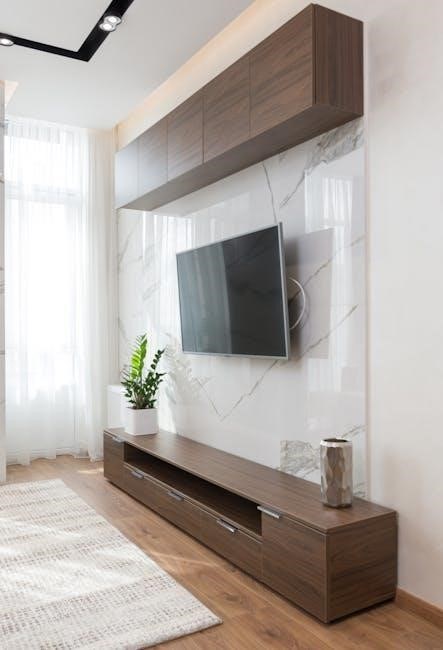
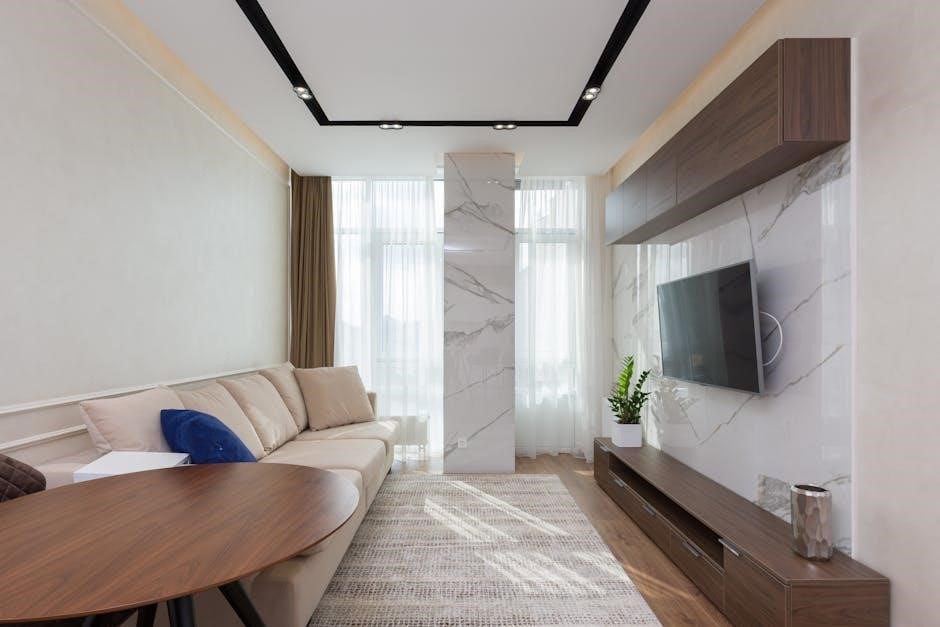
Wall mounting your TV offers numerous benefits, including enhanced space efficiency, improved aesthetics, and better ergonomics. It saves floor space, creating a sleek, modern look while reducing glare. By optimizing viewing angles, it ensures a comfortable experience. Additionally, it prevents accidental tipping, making it a safer option, especially in homes with children or pets. Proper installation ensures stability and balance, while the ability to hide cables maintains a clean appearance. Overall, wall mounting is a practical and stylish solution for modern home entertainment systems, providing both functionality and visual appeal.
Benefits of Wall Mounting
Wall mounting your TV provides significant advantages, including space-saving convenience and a sleek, modern appearance. It eliminates the need for bulky furniture, creating a cleaner aesthetic. By allowing optimal viewing angles, it enhances comfort and reduces glare. Additionally, wall mounting improves safety by preventing accidental tipping, making it ideal for homes with children or pets. Proper installation ensures stability and balance, while the ability to hide cables maintains a tidy look. Overall, wall mounting is a practical and stylish solution that combines functionality, safety, and visual appeal, making it a popular choice for modern home entertainment systems.
Types of TV Wall Mounts
TV wall mounts come in various styles, including fixed, tilt, full-motion, and articulating options. Each offers unique features, such as adjustability, flexibility, and sleek designs to suit different needs and spaces.
Fixed Mounts
A fixed mount is the most straightforward and affordable option, holding the TV flush against the wall for a sleek, low-profile appearance. It doesn’t allow for tilt, swivel, or rotation, making it ideal for installations where the viewing angle is fixed. Installation involves attaching a bracket to the back of the TV and securing it to the wall, ensuring stability and a wobble-free setup. This mount is perfect for rooms with a single viewing position, offering simplicity and durability while maintaining a modern aesthetic.
Tilt Mounts
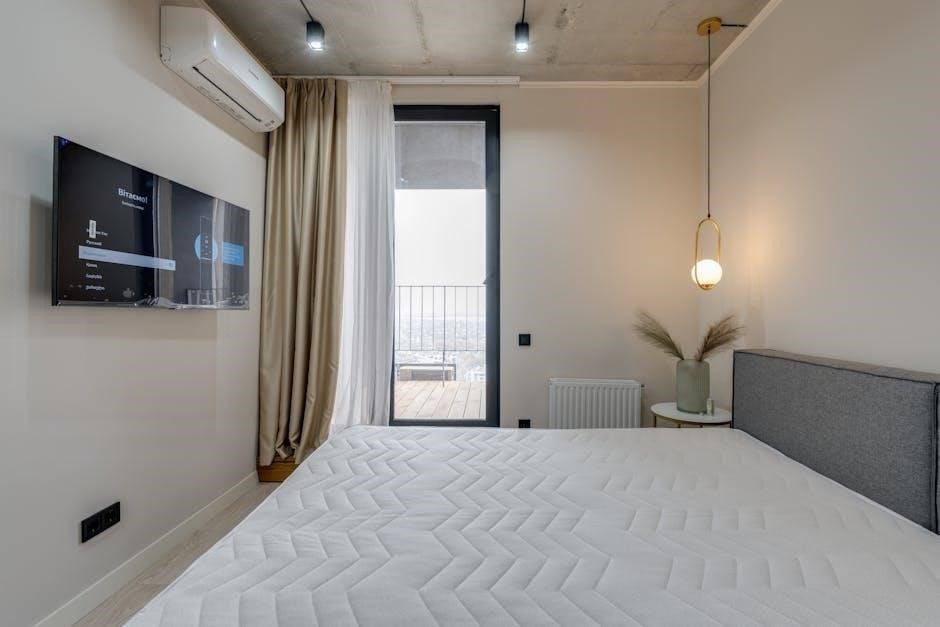
Tilt mounts offer vertical adjustability, allowing you to angle the TV up or down for optimal viewing comfort. They are ideal for installations where the TV needs to be positioned above eye level, such as over a fireplace or on a high wall. Unlike fixed mounts, tilt mounts provide flexibility to reduce glare and improve picture quality. Installation involves securing the mount to the wall and attaching it to the TV, ensuring it is level and stable. This mount type strikes a balance between simplicity and adjustability, making it a popular choice for various home setups.
Full-Motion Mounts
Full-motion mounts combine tilt, swivel, and extend functions, offering maximum flexibility for positioning your TV. They are ideal for rooms with multiple viewing angles, allowing you to adjust the TV to face different seating areas. These mounts extend outward, enabling precise alignment for optimal viewing comfort. They are particularly useful in larger spaces or for enhancing dynamic viewing experiences. Installation involves securing the wall bracket and attaching the TV plate, ensuring stability. Full-motion mounts provide unparalleled versatility, making them a great choice for users seeking customizable TV placement and enhanced entertainment setups.
Articulating Mounts
Articulating mounts offer a wide range of motion, allowing the TV to extend, tilt, and swivel. They are perfect for corner installations or rooms with multiple viewing areas. These mounts provide a sleek, space-saving solution while maintaining flexibility. Installation involves attaching the bracket to the wall and securing the TV plate. Ensure all connections are tight and the mount is level. Articulating mounts are ideal for maximizing viewing angles and minimizing glare, making them a popular choice for dynamic home theater setups and versatile living spaces.
Choosing the Right TV Mount
Selecting the correct TV mount ensures optimal functionality and safety. Consider VESA compatibility, weight, and wall type to match your TV and space requirements effectively.
Understanding VESA Standards
VESA (Video Electronics Standards Association) standards define the mounting patterns for TVs, ensuring compatibility between devices and mounts. The VESA pattern is measured in millimeters (e.g., 400×400 or 600×400) and indicates the distance between screw holes on the TV’s back. Matching your TV’s VESA pattern to the mount is crucial for proper installation and safety. Always check your TV’s manual or manufacturer’s website to confirm its VESA pattern before selecting a mount. This ensures a secure fit and prevents potential damage or instability, making it a critical step in the mounting process.
Weight and Size Compatibility
Ensuring your TV mount supports the TV’s weight and size is crucial for safety and stability. Check the mount’s maximum weight capacity and verify it matches your TV’s weight. Additionally, confirm the mount’s size compatibility with your TV’s dimensions to ensure a proper fit. Using a mount that doesn’t meet these requirements can lead to instability or damage. Always refer to the TV’s manual for specifications and match them with the mount’s capabilities to guarantee a secure and reliable installation. Proper weight and size compatibility ensures your TV remains stable and level on the wall.
Wall Type Considerations
Different wall types require specific mounting approaches; For wood stud walls, locate studs to ensure secure anchoring. Drywall may need anchors to support weight, while brick or concrete walls require specialized screws or wall anchors. Metal studs are generally not recommended for heavy mounts. Always choose hardware suitable for your wall type to prevent damage or instability. Follow manufacturer guidelines for weight limits and installation methods based on wall material. Proper wall type consideration ensures a safe and durable TV mounting solution, avoiding potential risks of collapse or damage to the wall structure.
Preparation for Installation
Collect necessary tools and materials, study the instructions, and locate wall studs. Mark the wall accurately and ensure the TV is ready for mounting by removing its stand.
Gathering Tools and Materials
To ensure a smooth installation, gather all necessary tools and materials beforehand. This includes a stud finder, drill, screwdriver, level, measuring tape, and a pencil. Collect wall anchors, screws, and bolts compatible with your wall type. Retrieve the mounting hardware provided with the TV mount, such as brackets, spacers, and washers. Double-check the manufacturer’s instructions for specific requirements. Having a second person to assist is also recommended for handling the TV safely. Organize all items in a accessible workspace to avoid delays during the mounting process. Ensure all tools are in good working condition for precise and secure installation.
Locating Wall Studs
Locating wall studs is crucial for a secure TV mount installation. Use a stud finder to identify the wooden studs behind the wall. Gently knock on the wall to detect hollow areas, as studs will produce a solid sound. Electrical outlets or switches can also indicate stud locations. Mark the stud positions with a pencil. Ensure the studs are evenly spaced and aligned for proper weight distribution. Double-check the stud finder’s accuracy for reliability. Accurate stud location ensures the mount is safely anchored, preventing damage to the wall or TV. Always follow the manufacturer’s instructions for specific hardware requirements.
Marking the Wall
Once you’ve located the wall studs, use a pencil to mark their positions. Align the wall mount bracket with the studs, ensuring it’s level. Lightly trace the bracket’s mounting holes with a pencil to create a precise guide for drilling. Double-check the alignment to ensure the TV will be straight and evenly spaced. Use a carpenter’s level to confirm horizontal and vertical accuracy. Proper marking ensures the mount is installed securely and prevents costly mistakes. Always refer to the manufacturer’s instructions for specific marking guidelines tailored to your mount type. Accurate markings are essential for a safe and visually appealing installation.
Step-by-Step Installation Guide
This guide provides a clear, step-by-step approach to mounting your TV. Start by attaching the mounting plate to the TV, then secure the wall bracket, and finally mount the TV. Always follow the manufacturer’s instructions for a safe and proper installation.
Attaching the Mounting Plate to the TV
Begin by removing the TV stand if it’s attached. Locate the VESA mounting holes on the back of the TV, ensuring they align with the mounting plate. Use the provided screws to secure the plate, tightening firmly but avoiding overtightening. If spacers are included, attach them to the plate before mounting for proper fit. Double-check the plate’s alignment with a level tool to ensure it’s straight. Once secure, the TV is ready to be mounted on the wall bracket. Always refer to the manufacturer’s instructions for specific screw types and torque requirements to prevent damage.
Securing the Wall Bracket
Locate the wall studs using a stud finder to ensure stability. Mark the mounting holes on the wall, aligning them with the bracket. Drill pilot holes and insert wall anchors if necessary. Attach the wall bracket using screws, ensuring they are tightly secured. Double-check the bracket’s alignment with a level tool. Once installed, gently pull the bracket to confirm its stability. Avoid over-tightening, as this could damage the wall or bracket. Ensure all screws are firmly in place before proceeding to mount the TV. Proper securing of the wall bracket is crucial for safety and preventing potential damage.
Mounting the TV on the Wall
Attach the TV plate to the wall bracket, ensuring it aligns perfectly. Gently lift the TV, holding it by the edges, and align the mounting holes on the TV plate with the wall bracket. Secure the TV by gently pushing it toward the wall until it clicks or locks into place. Check the TV’s balance and ensure it is level. Tighten all screws firmly but avoid over-tightening. Double-check the TV’s stability by gently rocking it side to side. If it feels secure, proceed to connect cables and enjoy your newly mounted TV.
Safety Tips and Precautions
Always handle heavy TVs with care, using a second person for support. Ensure the mount is rated for the TV’s weight and size. Follow manufacturer instructions precisely to avoid accidents and ensure stability.
Ensuring Stability and Balance
To ensure stability and balance, always follow the manufacturer’s instructions for weight and size limits. Use a level tool to align the TV properly and avoid wobbling. Double-check that the mount is securely attached to both the TV and the wall. Test the stability by gently rocking the TV side to side. If the mount feels unstable, adjust or tighten the screws as needed. For larger TVs, consider having a second person assist to maintain balance during installation. Proper alignment and secure fastening are critical for long-term safety and optimal viewing experience.
Handling Heavy TVs Safely
Handling heavy TVs requires careful planning and teamwork to avoid accidents. Always check the weight limit of your mount to ensure it can support the TV. Use a second person to assist in lifting and holding the TV during installation. Remove the TV stand to reduce weight and ensure a secure grip. Place the TV on a soft surface if you need to lay it down. Use a lifting strap or harness for better control. Never lift the TV by the edges or screen. Test the mount’s stability before fully mounting the TV to ensure it holds the weight safely.
Avoiding Common Mistakes
Avoiding common mistakes ensures a safe and successful TV wall mounting process. Always follow the manufacturer’s instructions precisely and double-check measurements for accuracy. Use the correct hardware for your wall type and TV weight to prevent instability. Ensure the mount is level before securing the TV to avoid uneven positioning. Do not overtighten screws, as this could damage the TV or mount. Test the mount’s stability before fully installing the TV. Finally, have a second person assist with lifting and holding the TV to prevent accidents and ensure proper alignment.
Troubleshooting Common Issues
Common issues include misalignment, uneven leveling, or wobbling. Adjust the mount to ensure proper alignment, check for loose screws, and verify the TV is securely attached.
Aligning the TV Properly
Proper alignment ensures your TV is level and centered. Use a spirit level to check horizontal alignment. Mark the wall studs accurately and align the mount’s holes with them. Attach the mounting plate to the TV’s back, following VESA standards. Once secured to the wall bracket, adjust the TV slightly to ensure it’s straight. If using an adjustable mount, fine-tune the position for perfect alignment. Double-check all screws and brackets for tightness to prevent any movement or wobbling, ensuring a stable and visually appealing installation.
Adjusting the Mount for Leveling
Ensure the TV mount is level for optimal viewing. Use a spirit level tool to check the mount’s alignment. If uneven, adjust the brackets by loosening the mounting screws slightly. Tilt the TV up or down as needed, then retighten the screws. For full-motion mounts, adjust the arms to achieve balance. Double-check the level after adjustments. Proper leveling prevents the TV from looking crooked and ensures stability. Follow the manufacturer’s instructions for specific adjustment mechanisms, as designs may vary; A well-leveled mount enhances both safety and visual appeal, providing a professional-grade installation finish.
Resolving Wobbling or Sagging
Wobbling or sagging can occur if the TV mount is not properly secured or if the weight distribution is uneven. To resolve this, tighten all screws and bolts, ensuring the mount is firmly attached to both the TV and the wall. Check the brackets for any looseness and adjust them as needed. For added stability, use spacers or shims if recommended by the manufacturer. Ensure the mount is rated for the TV’s weight and size. If sagging persists, consult the installation manual for specific adjustment instructions, especially for full-motion or tilting mounts. Proper tightening and alignment will restore stability and prevent further issues.
Additional Considerations
Consider hiding cables for a cleaner look, regularly cleaning the mount, and checking for firmware updates. Ensure compatibility when upgrading or replacing the mount in the future.
Hiding Cables and Wiring
Hiding cables and wiring is essential for a sleek, professional appearance. Use cable management boxes or raceway kits to conceal wires along walls or baseboards. For in-wall installations, consider running cables through the wall using conduits or dedicated wiring channels. Ensure all cables are neatly secured with clips or ties to prevent tangles. Plan the cable route in advance to minimize visibility and ensure easy access for future maintenance. This step enhances both safety and aesthetics, keeping your space clutter-free and organized.
Maintaining the Mount and TV
Regular maintenance ensures the longevity and stability of your wall-mounted TV. Check the mount for loose screws periodically and tighten them as needed. Dust the TV and mount to prevent dirt buildup, which can affect performance. Clean the screen with a microfiber cloth and avoid harsh chemicals. For motorized mounts, ensure all moving parts are lubricated according to the manufacturer’s instructions. Schedule periodic inspections of the wall brackets and cables to ensure everything remains secure. Proper upkeep not only enhances safety but also maintains optimal viewing quality and extends the lifespan of your TV and mounting system.
Upgrading or Replacing the Mount
Upgrading or replacing a TV wall mount is essential when your needs change, such as switching to a larger TV or requiring more flexibility. Start by detaching the TV and removing the old mount from the wall. Choose a new mount that matches your TV’s VESA standards and weight capacity. Follow the manufacturer’s instructions to install the new mount, ensuring it is securely fastened to the wall studs. Reattach the TV and test its stability. Consider consulting a professional for complex installations. Regularly inspect the mount for wear and tear to ensure safety and optimal performance over time.